OPI Push and Shove..
| Affiliate Link Purchased by Me |
Taking a little break from March Multichrome Madness to show you a this stunner, OPI Push and Shove, from the Gwen Stefani Collection. I hesitated buying this because I already have the Essie Mirrored Metallics, but after seeing some amazing swatches I had to have it!


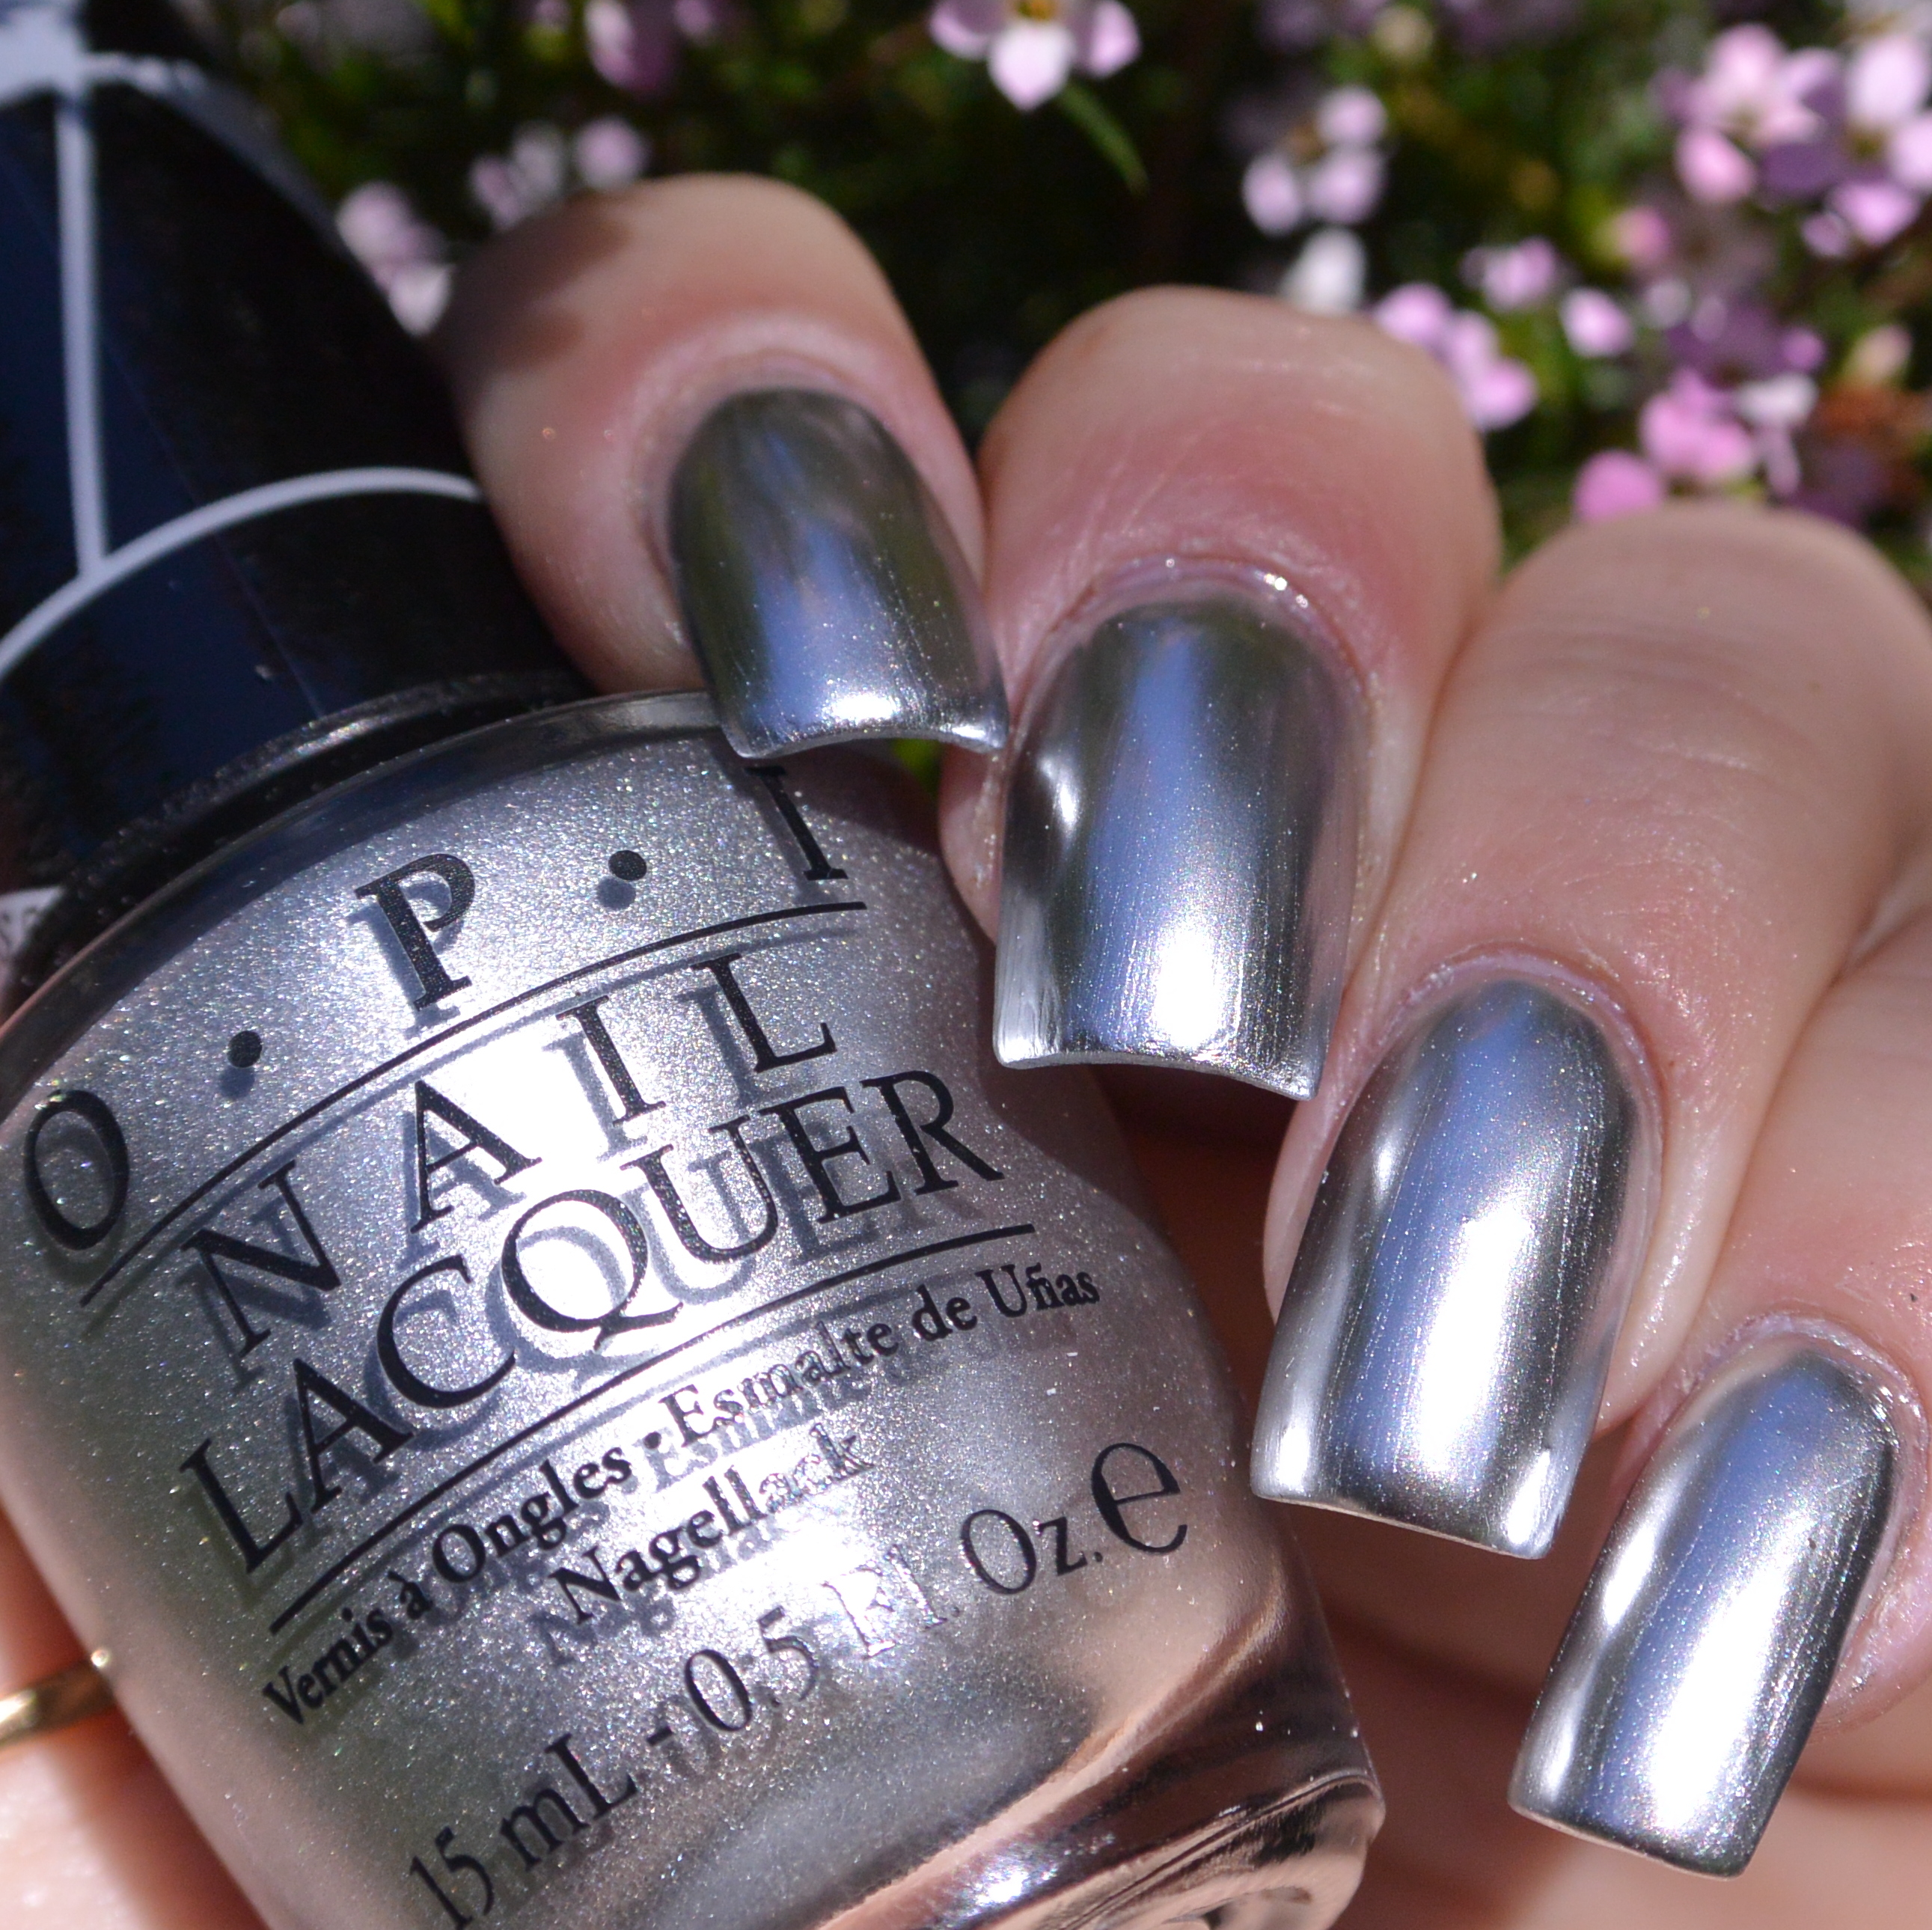
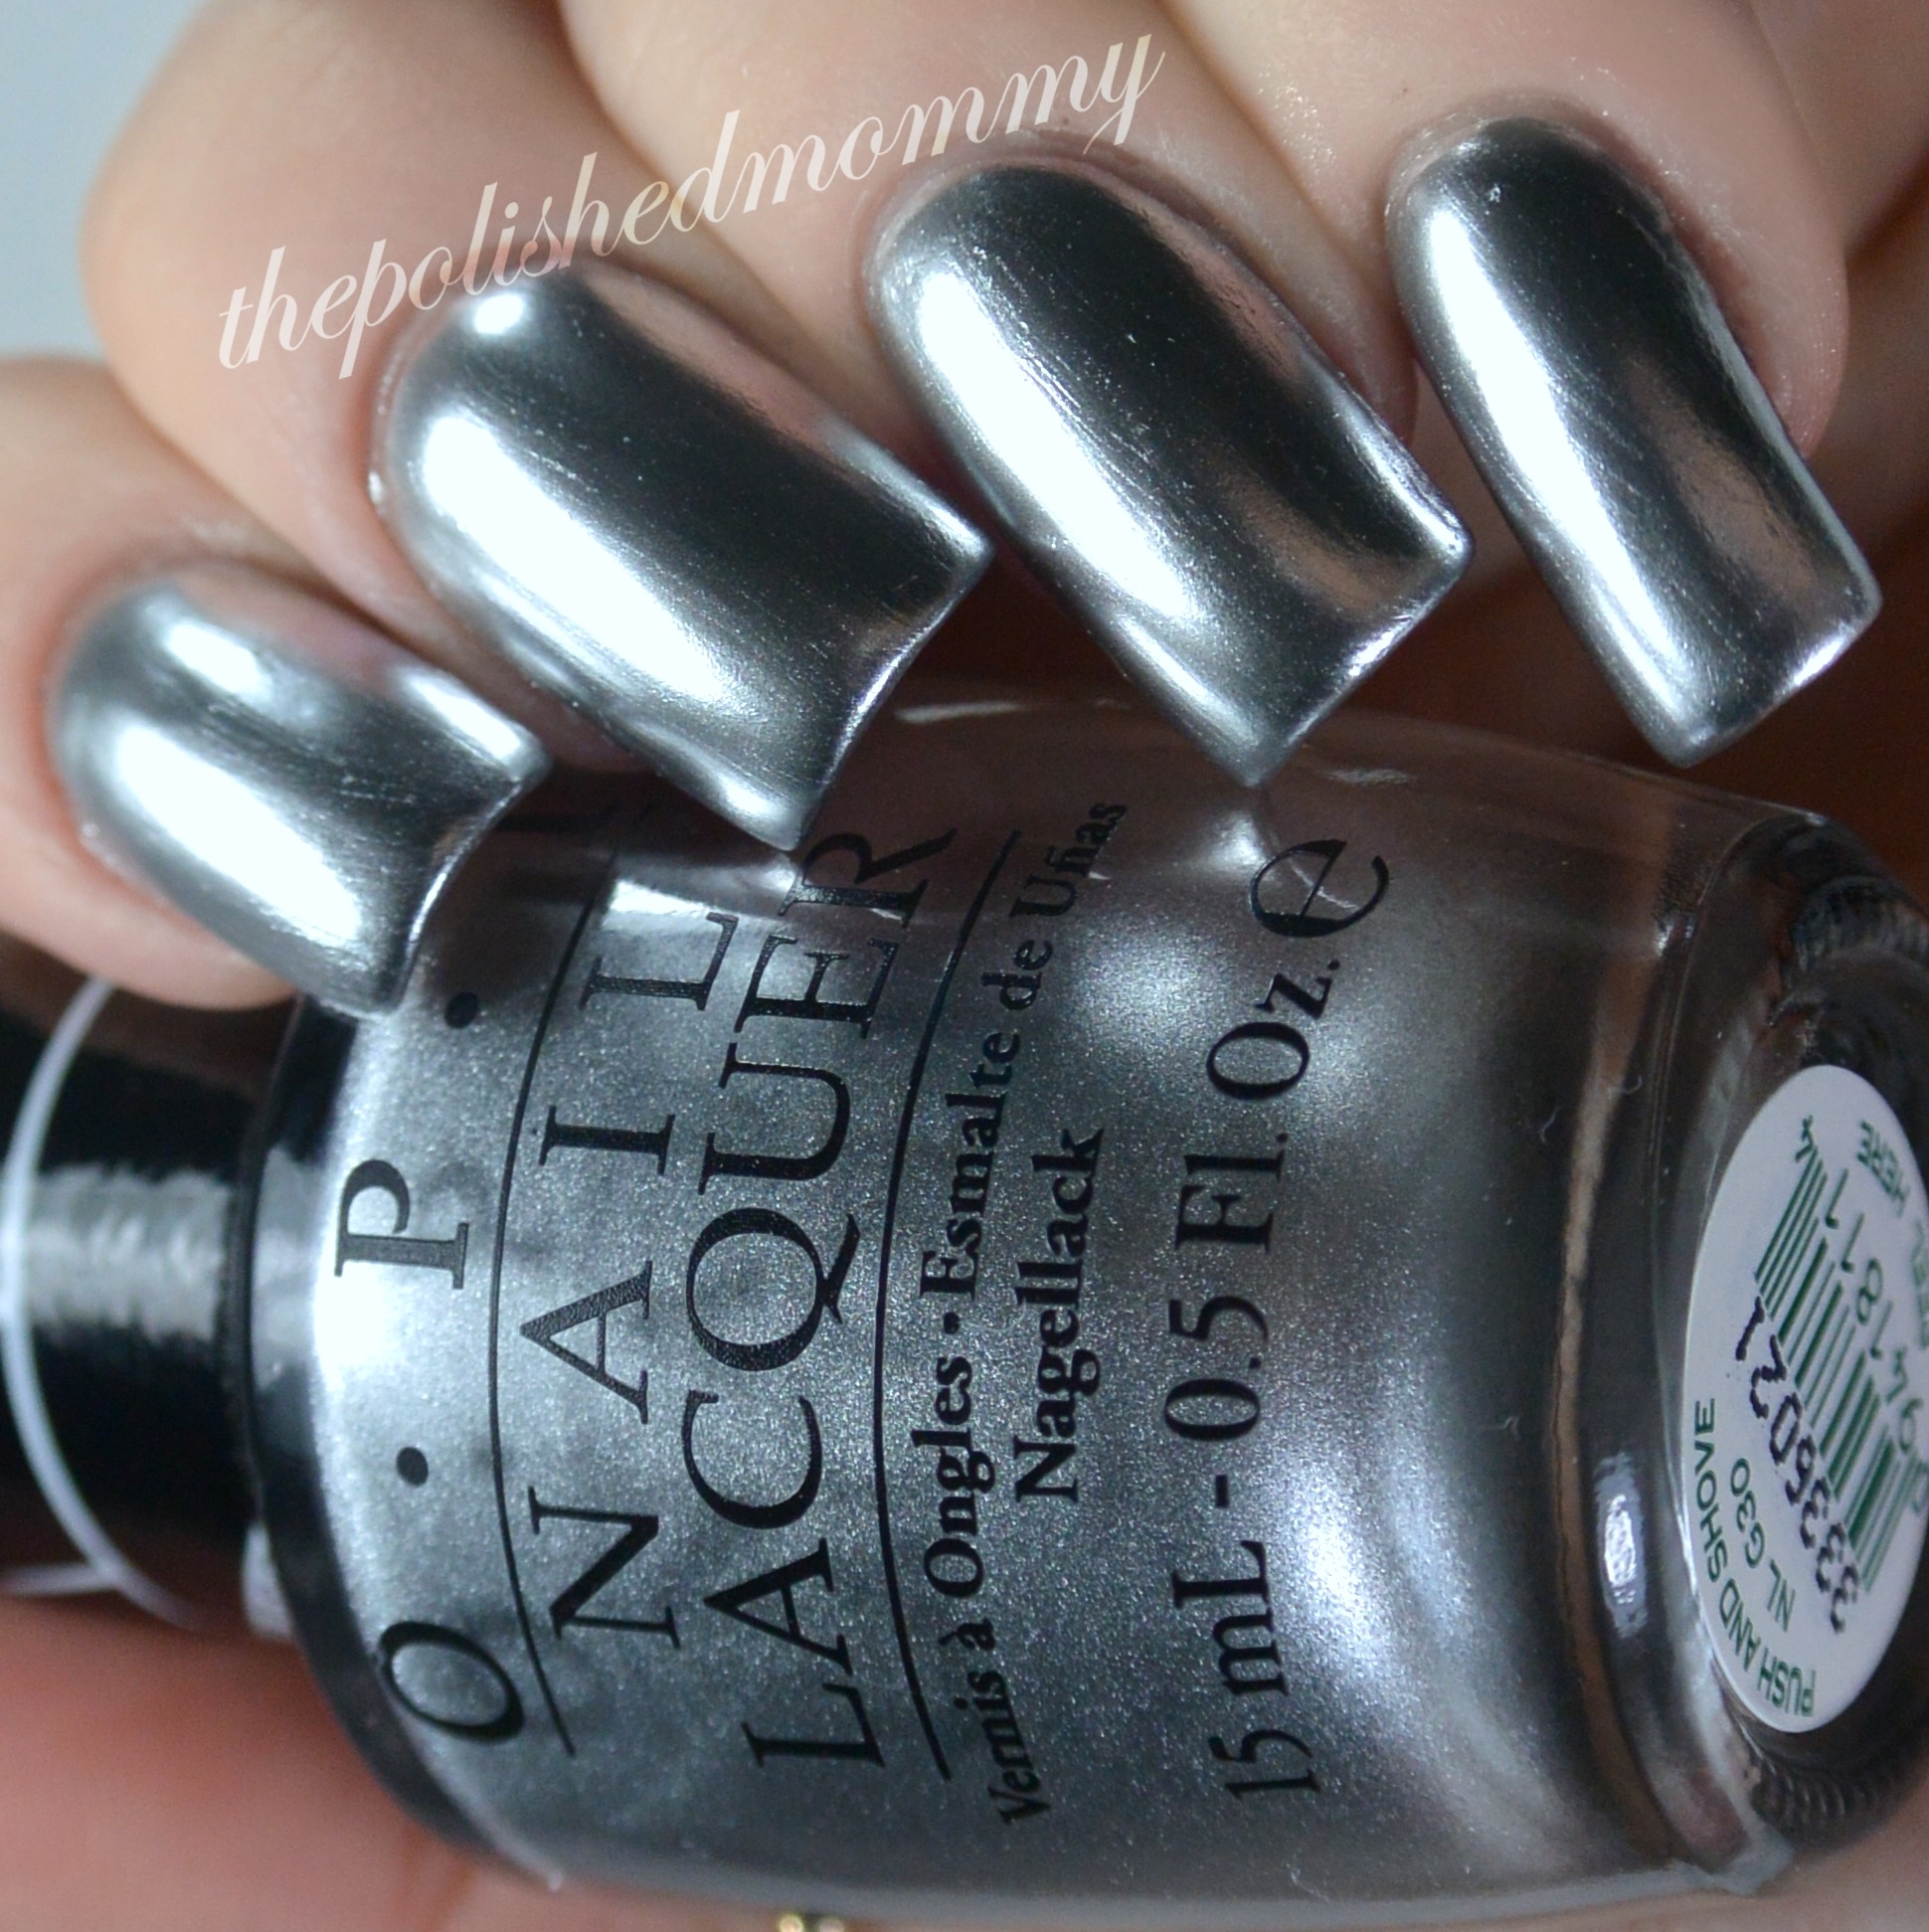
OPI Push and Shove is a ultra shiny mirrored silver chrome polish. It comes with a tiny bottle of Lay Down That Base, which you are supposed to use as your base coat before applying Push and Shove. I’m not really sure what kind of base coat LDTB is, I was expecting it to be some type of aquabase (like what came with Maybelline Mirror Image) or a ridge filler. However, it looks almost like a shiny top coat more than anything. Which got me thinking, what if I use my Sally Hansen Mega Shine top coat instead? Well, while I’m not sure what LDTB is, but it worked much better than the SH MS! When I applied it over the SH MS it went on very patchy and uneven. So to make the second coat go on easier I applied a layer of LDTB and it applied much smoother and no bald spots!! So I would definitely recommend using LDTB (I mean it comes with it so why not?) before applying Push and Shove. If you have ridges or your nails aren’t perfectly smooth* I would use a ridge filler than LDTB to get the best application.
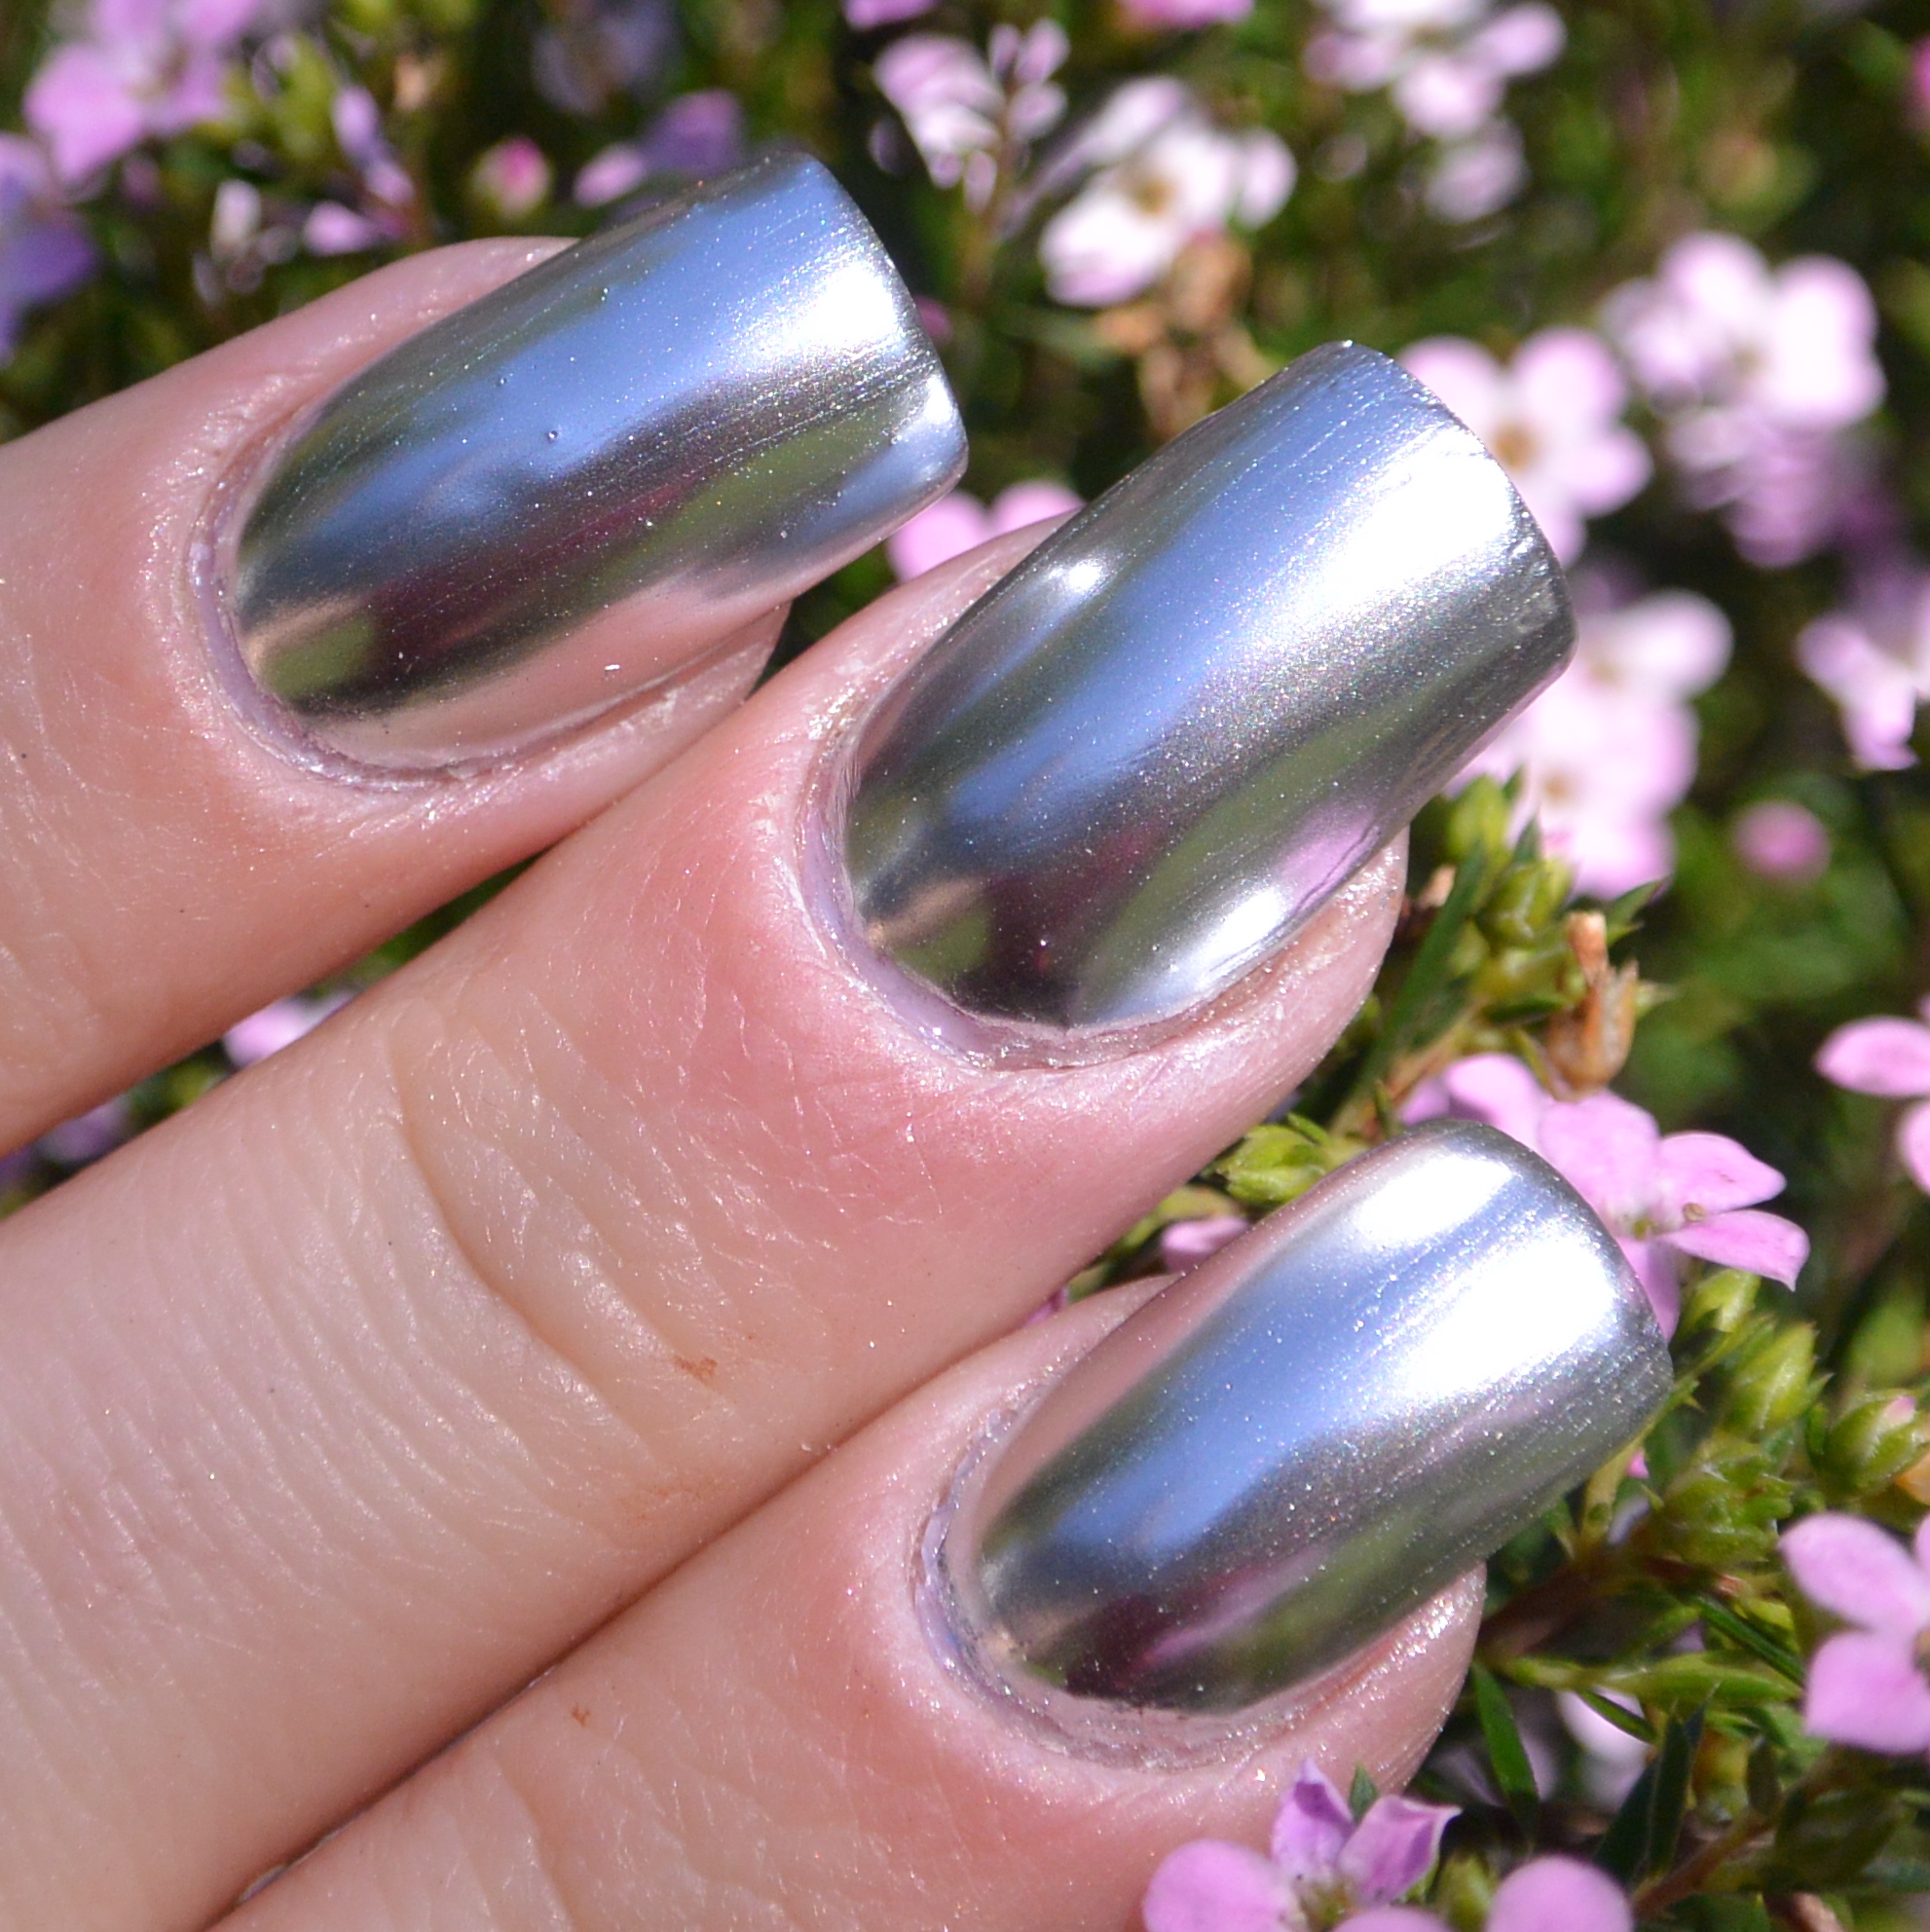
When you first apply it you’ll notice lots of brushstrokes and you think it going to look horrible, but then it dries and magic happens. Once it dries, it self levels and all the brush strokes disappear leaving behind a smooth super shiny chrome finish that is actually reflective! As far as staying power, it’s not good. The first time I tried this I used LDTB and 2 coats of Push and Shove (no top coat) it barely lasted the night. I wasn’t even able to take pictures of it because it had chipped off so bad! So, the second time I applied it I did the sandwich method as I stated above (using SH MS TC, 1 coat P&S, 1 coat LDTB and a second coat of P&S-wrapping the tips with each layer) and had much better results. If you are looking to wear this for several days I would strongly recommend doing this sandwich method and wrap your tips to avoid premature chipping.
*I do have a hard gel overlay on my nails which creates a very smooth shiny surface.
Overall: I LOVE this polish! I was a fan of Essie No Place like Chrome because of this finish but this is far better..
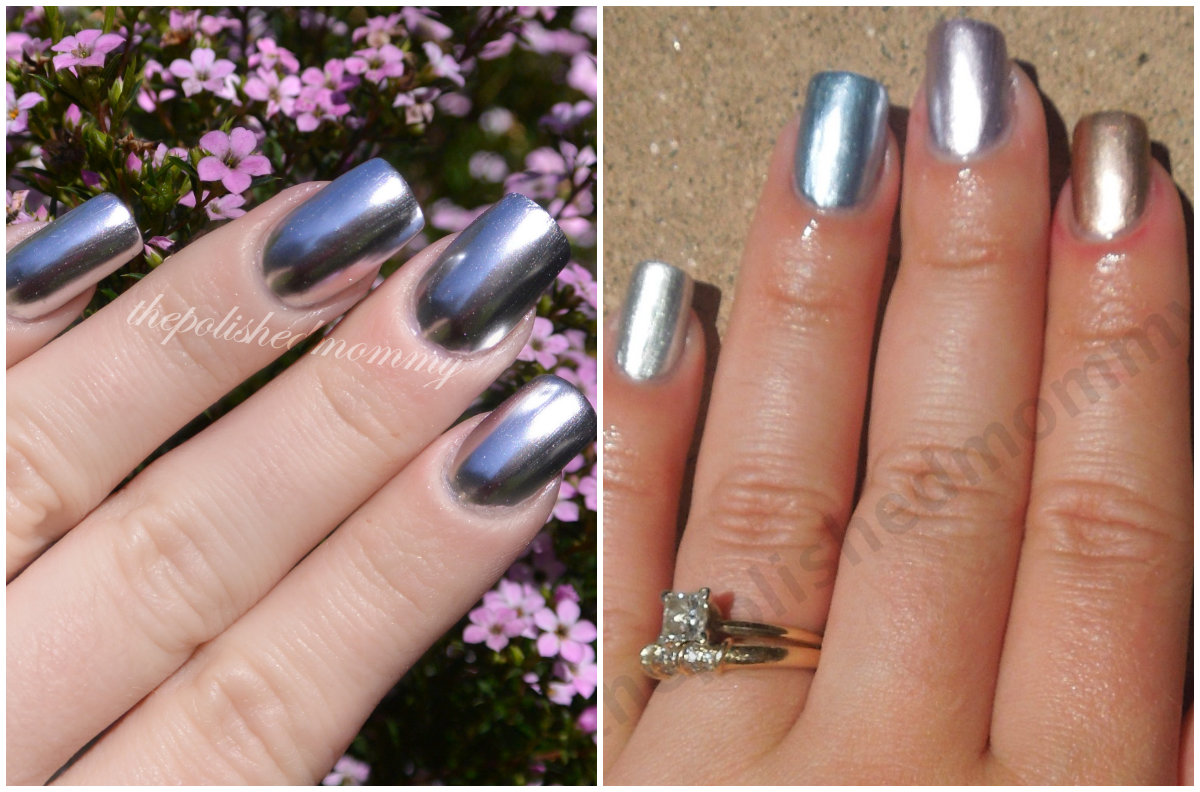
OPI Push and Shove vs Essie Mirrored Metallics
Price: This is currently on clearance at Sally’s for $4.50.


4 Responses
[…] Mirrored Metallics , but /u/smapte (reddit) pointed out that Sterling Silver was a near dupe of OPI Push & Shove I had to pick it up, and the two golds just happened to end up coming home too . […]
[…] swatch I applied 3 coats over OPI Push and Shove, ring finger is 2 coats Color Club Harp on It over OPI Push and Shove. This did seem to dull a bit after top coat so I would strongly recommend the top coat sandwich ( […]
[…] until the next day to take photos. Of course by the next day I started to get tipwear, so I added OPI Push and Shove which made it look like ribbons on a present. Thus gifts in the snow was […]
[…] then layered Sephora Formula X Devious and Super Charged over top. For the accent nail I used OPI Push and Shove and layered B Polished Silver Bells a Blinging and Bling in the New Year (layering these created […]